As you may know once you are banned from Xbox live if you use that banned console to play games and then put your hard drive back into an unbanned console your profile shows as corrupted and you have to recover Gamertag from Xbox Live. In doing this though you lose any achievements you may have obtained on the banned box. I have found a way to un-corrupt the profile without Recovering.
What you need:
A Data Transfer Cable for Xbox 360 or disassemble your hard drive.
CON Flag Remover
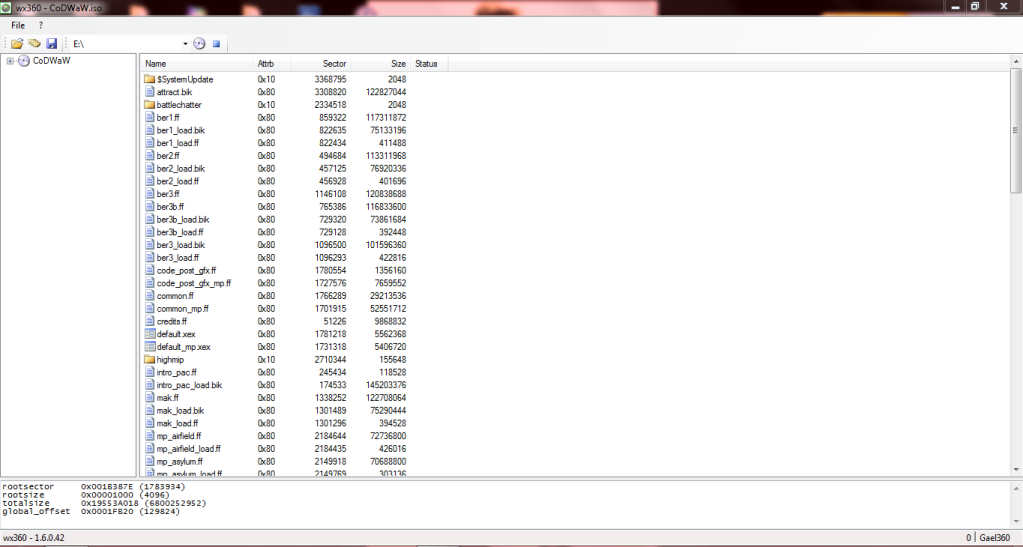
Xplorer360
Hash Block Calculator
Step 1:
First thing you want to do is get a back-up of your current profile. You can skip this step and go to Step 3 B if you already have achievements on your banned console you wish to transfer to an unbanned. This is also just a precaution and can be skipped if you don't wish to make a back up.
Either connect your hard drive to your PC through the Data Cable or disassemble the hard drive and connect using normal Sata connections.
Next open "Xplorer360". Click "Drive>Open>Harddrive or Memory-card".
Select "Partition 3", then expand "Content"
Under this will be several folders Starting with "E". These folder names are your profile ID so I can't say for sure they name of yours but if there is only one profile it will be easiest.
Expand your E folder, "FFFE07D1", then "000100000"
Now you will see you Profile file
Drag this file onto your desktop or any where you can find it.
Step 2.
Now make a back up just in case. right click on the file you just dragged from the hard drive. Click copy. right click again and click paste. you can then rename this file what ever you want just remember it is the Original. I would suggest just adding ORG or BAK to the end of the file name.
Step 3.
A:For use with a previously recovered Gamertag that is not corrupted
You can now put your Hard drive onto your banned console. I would suggest either just playing a game a or getting an easy achievement to test. Then move on to Step 4.
B: For those with a still corrupted Gamertag
If you have a Corrupted Gamertag that you have received addition Achievements you can uncorrupt that gamertag and have it add those achievements to your online Gamerscore. Just remember not to recover your tag from Live unto after you have fixed this original corrupted one. Doing so will prevent you from ever being able to add those achievements to your gamerscore.
Step 4:
Once you are ready to move your Profile back to a Unbanned Console hook the hard drive back up to the PC. Repeat steps 1 & 2. This new profile will have all the achievements you just obtained on it.
Step 5:
Open "CON Flag Remover"
Click "Open Profile". Browse for the file you just got in Xplorer360.
Click "Remove Flags".
Step 6:
Open "Xbox 360 Hash Block Calculator"
Click "File>Open"
Open the file you just removed CON Flags From
Click "Tools>Calculate Hash Blocks"
Step 7:
Open Xplorer360, open you hard drive. Navigate to where your profile is stored. Drag the file you you have edited onto the Xplorer360 window. Tell it to replace the file if asked. Disconnect hard drive from PC and reconnect to Xbox.
It may take up to 30 minutes before your new score is seen by friends or on XBOX.com.
This must be done each time hard drive is connected to a banned console. Its a bit of a pain but does make it so you can continue to get achievements on a banned console.
Credits to NeedHelpPmMe


")